Inoculation
Inoculating grain spawn is a crucial step in mushroom cultivation. It is also the step in which things are most likely to go wrong. This guide will help you navigate the process and ensure a healthy and productive mushroom harvest!
What You Need
Materials
• Grain Spawn: Rye, millet, or oat are great options. Qsámtā offers millet and oat grain spawn bags that are soaked, cooked, and sterilized for optimal mycelium growth.
• Mushroom Spawn: This can be in the form of spores, liquid culture, or agar wedges, depending on your preference and available resources. Qsámtā highly recommends the use of spore syringes and liquid culture syringes as they make inoculating the grain simple and are the best way to prevent contamination!
• Inoculation Bag: A filter patch bag designed to allow gas exchange while preventing contaminants. Qsámtā grain spawn bags feature a 0.2 µm filter to allow for superior air exchange while keeping contaminants out.
• Pressure Cooker or Autoclave: To ensure that your mycelium is not outcompeted by other organisms (contaminates), grain must be sterilized at high pressure for several hours. Qsámtā grain spawn bags are mass produced with industrial scale autoclaves to ensure a low cost and high quality product and allow you not worry about pressure cooking grain.
• Isopropyl Alcohol 70%: All surfaces, tools, and the interior of your still air box should be sanitized with a 70% isopropyl alcohol to kill any bacteria that could potentially contaminate your grain spawn.
• Gloves and Face Mask: To minimize contamination.
• Inoculation Tools: This can include a sterile syringe, inoculation loop, or scalpel, depending on your spawn type.
Equipment
• Clean Workspace: A still air box or laminar flow hood is ideal for minimizing contamination during the inoculation process. To learn how you can make your own highly effective still air box for less that $10 visit: Still Air Box.
• Flame Heat Source: For sterilization of tools including syringe needles. Options include lighters, alcohol burners, or even candles.
Step-by-Step Process Using Qsámtā Grain Spawn
1. Create a Clean Environment
• Sanitize Your Workspace: Clean the area with alcohol and disinfect surfaces. Ideally, work in a still air box or under a laminar flow hood to prevent airborne contaminants.
• Personal Hygiene: Wear gloves and a face mask to minimize the risk of contamination.
2. Inoculate the Grain
• Prepare the Spawn: If using liquid culture or a spore syringe, shake the container gently to disperse the spores. If using agar wedges, prepare your tools for extraction.
**WARNING** OPEN FLAME MUST REMAIN OUTSIDE OF STILL AIR BOX. Isopropyl alcohol is VERY flammable and can ignite in an enclosed environment. Needles, scalpel, etc. must be brought out of still air box to be flame sterilized.
• Inoculation from Liquid Culture Syringe or Spore Syringe: Working in a clean environment such as a still air box. Flame sterlize your syringe needle. Quickly inject the bag 1 to 2 mL of spore or liquid culture solution. Always flame sterilize the syringe needle betwen injections and before storage. Needles can collect contaminants from surfaces and must be sterile before an injection. The culture should be injected into a location above the grain and the location should be throughly cleaned with 70% isopropyl alcohol prior to injection. After injecting the solution, the puncture hole should be covered with Micropore Tape. "Micropore" is a brand name of 3M. You can use other brands such as Equate Paper Tape available at Walmart: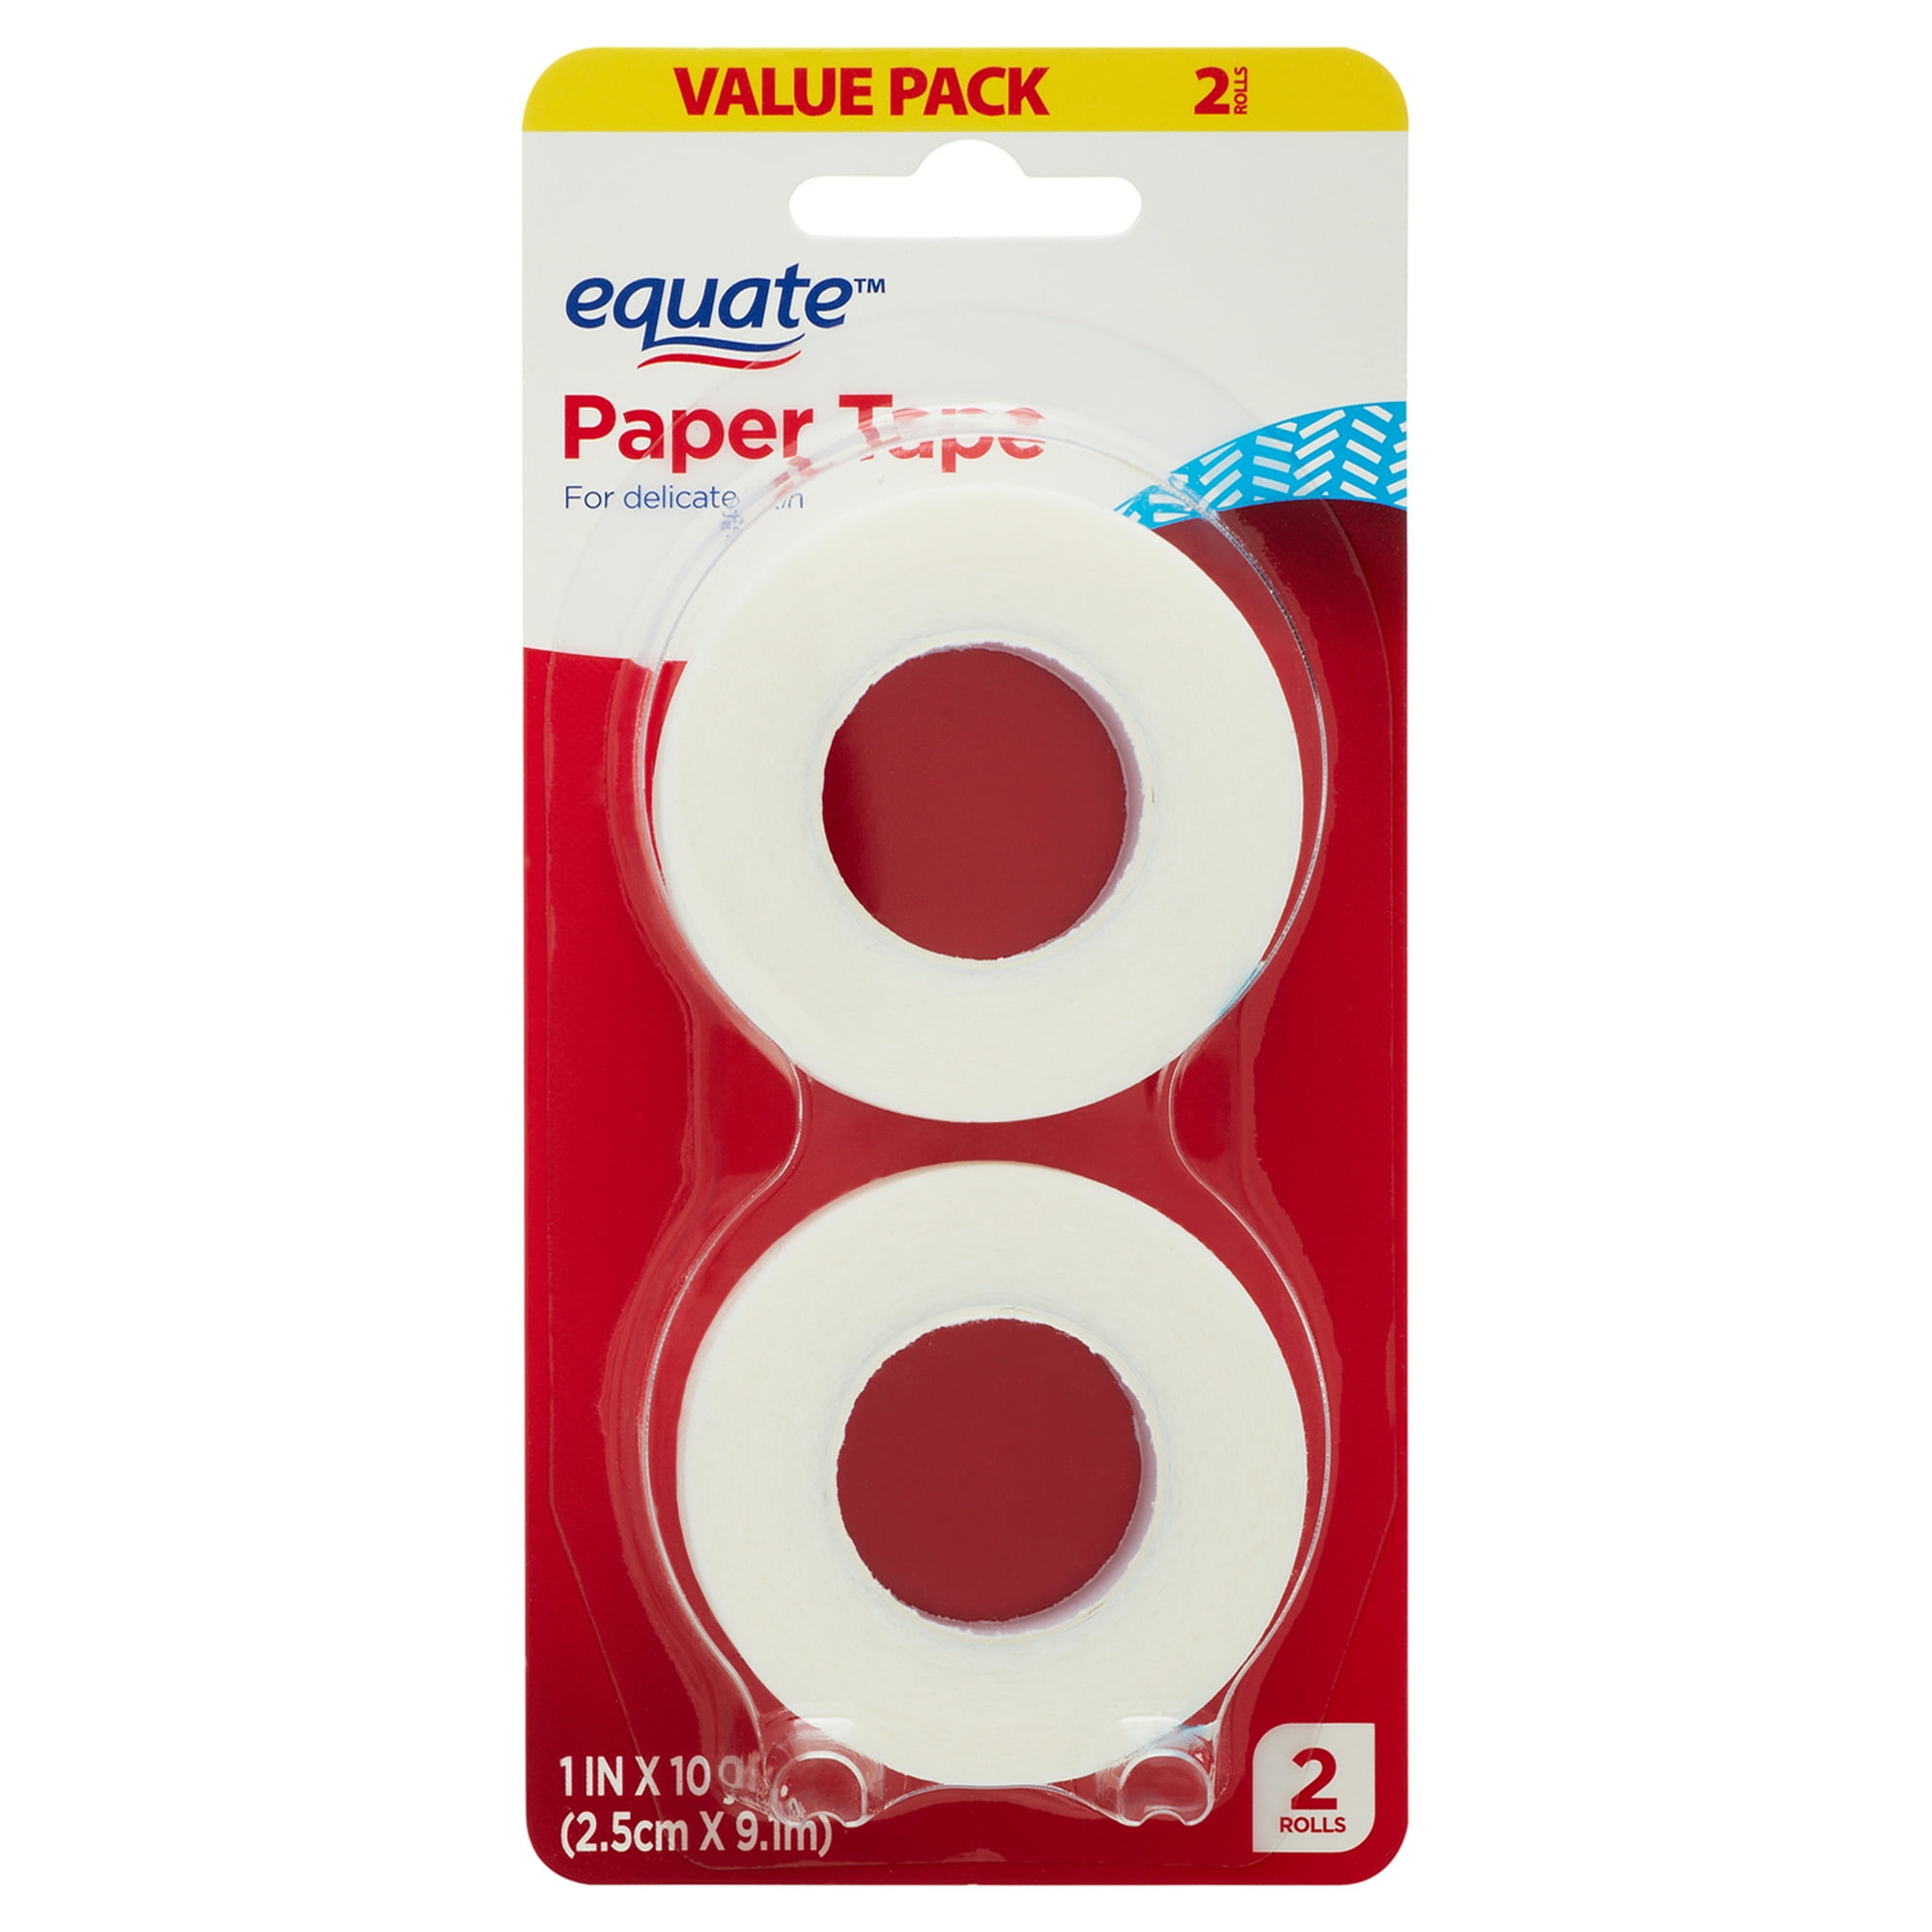
• Inoculation from Agar Wedges: Agar wedges contain mycelium cultures grown on agar in petri dishes. Due to the size of agar wedges, you will need to make a small cut in your grain spawn bag to insert the wedges. Working in a clean environment such as a still air box throughly wipe all surfaces including the grain bag with 70% isopropyl alcohol especially the location of the incision into the bag. Using a flame sterilized scalpel, cut the agar into 8 wedges. Place 2 to 3 wedges into the bag and cover the hole with Micropore Tape or use a impluse sealer to reseal the bag.
3. Incubation
• Temperature: Place the inoculated grain bags in a dark, warm area, ideally around 70-75°F (21-24°C). Monitor the temperature, as different mushroom species may have specific requirements.
• Observation: Check the bags regularly for signs of mycelial growth (white, fuzzy appearance) and monitor for any contamination (unusual colors or smells).
4. Colonization
• Allow the bags to colonize fully, which can take anywhere from a week to several weeks, depending on the mushroom species and conditions. Once the grains are completely white with mycelium, they are ready for the next step in your mushroom cultivation process.
Troubleshooting Common Issues
• Contamination: If you notice unusual colors or smells, it may be due to poor sterile technique or contaminated spawn. Discard any contaminated bags to prevent further spread.
• Slow Growth: If colonization is slow, ensure the temperature is optimal for your mushroom species and that the grains are not too wet or dry.
By following these steps and maintaining a sterile environment, you can successfully grow a variety of mushrooms. With practice and patience, you'll soon enjoy the fruits of your labor—delicious, home-grown mushrooms!